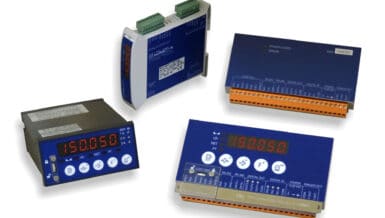
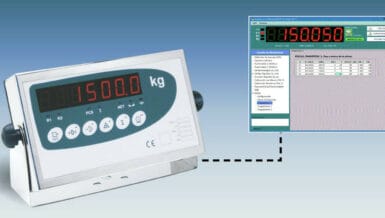
Scale systems are made up of a number of components, including load cells mounted in load points (or in a platform scale), a Junction box to sum signals from multiple load cells, and a weighing instrument (such as a Weight Processor or Weight Controller).
Accuracy is measured in percent of FULL SCALE and relates to the “measuring device or sensor” and is defined against a “standard” unit of measures such as meters, feet, lbs or kgs. Wheatstone bridges in the load cells measure and communicate weight via analog signals to the analog to digital converter (ADC) in the instrument. A load cell’s accuracy is defined as a percentage equal to plus or minus its combined error (such as ± 0.02%).
As an easy-to-understand example, compare a one-foot ruler to the accuracy of a sensor. In the case of a ruler, it is accurate to 12 inches plus/minus 0.02% (just to set it to the same rating as a Load Cell, which ends up as a maximum resolution ± 0.0024 inches). Why plus/minus? In this case, the ruler is made of wood. In load cells, if you are measuring between the rated temperature range of -10 degrees C to +40 centigrade C and you haven’t let moisture get into the system, that accuracy stays at ± 0.02%. For a standard, Pounds and Kilograms are measured against the “Golden Kilogram” that is kept at the Standards Institute in Paris, France.

Resolution Is established and defined by the weighing instrument. Resolution is measured by the number of intervals, increments or divisions (all these words mean the same thing in Industrial Weighing) and relate to the “granularity” of the measurement an observer can see. Or, if the measurement is taking place by a weighing instrument, it’s the granularity to which the ADC (analog-to-digital) converter can resolve the measurement, a finite distance from 1 division to the next, such as 2, 3, or 4 decimal places.
If we use the Ruler as an example again, the Resolution on the top row is one part in 12, and in the case of the bottom row of measurement, it is 1/16th inch or a resolution of 1:192 (1/16” times 12 defines the resolution). In the case of a weighing instrument, it might have a resolution of 1:10,000 or 1: 20,0000.

Usually in industrial scales, the resolution is set to be 2X or 3X higher than accuracy. Let’s say I am a scale technician that wants to calibrate that 1,000 kgs scale the old fashion way. First, I would set the zero point. Then I would put 1,000 kgs of certified weights on to the scale to measure the top point.
Next, I would measure the middle of the scale because that’s where the non-linearity is at its worst. If I want to check that it’s within the accuracy specification, then I am going to put 490 kgs onto the scale to calibrate it using a combination of 20 kgs or 10 kgs weights. Next, I would take it up to 499 kgs using smaller weights such as 1 kg. To make sure it is accurate, I put a tipping weight (one that is less than a kg.) on the scale. If the scale resolution equaled the accuracy, I would only be able to see changes of 1 kg or more. If I have a resolution higher than accuracy, then I can see measurements between 1 kg, such as a 1/3 or a ¼ kg. In other words, you would only see the scale move when it hits 499, 500 or 501 kgs and nothing in between. If my resolution is higher than accuracy, I can see it cut off at 500.333 kgs.
There are other reasons you want the resolution to be higher than accuracy. You can’t set the instrument resolution to 1 part in a million because then all you would see is noise. That’s why manufacturers of high-performance instruments set the resolution at 1 part in 10,000 for stable weight. On newer instruments it is 1:20,000 or 1:30,000. Higher than that just isn’t useful or meaningful. This concept doesn’t just apply to load cells; it applies to pressure sensors, or level measurements as well.
But sometimes resolution is limited to the accuracy spec. For example, in legal for trade scales, then the resolution will equal accuracy. This is a legal limit not a functional limit. Even though the instrument can see resolution much higher, the inspector wants it to be 100% accurate so they limit the resolution to the accuracy. So the maximum resolution for Legal for Trade applications is about 1:3000 as set by NTEP.
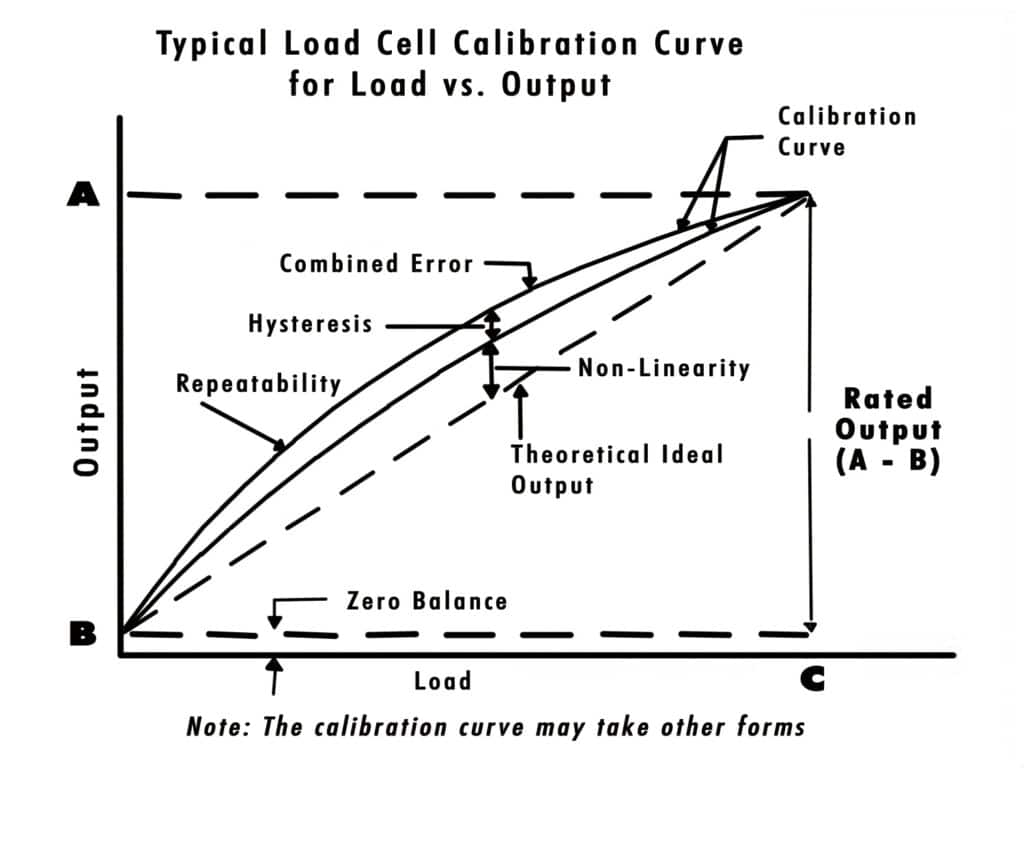
Let’s look again at a load cell or a load sensor. If we talk about Combined Error, it is a percentage of the Rated Output (such as ± 0.02%). The Combined error is actually comprised of three errors: non-linearity, hysteresis and creep.
The Combined Error rating is the square root of the sum of the squares of those numbers. That number holds true as long as you stay within the compensated temperature range of the load cell (-10 degrees C to +40 degrees C) but that doesn’t mean the load cell will stop operating outside that temperature range.
It just means that the internal temperature compensation stops working so you have to compensate by computing the actual error
Moving back to the resolution of the instrument, the Recommended Display Resolution (Stable) is 1:20,000 while the Maximum Recommended Display Resolution is 1:100,000. The Minimum Recommended Increment Size is 0.15 μV (micro Volts).
Why Does it Matter?
Let’s say you have an application where you are filling a can with 20 kgs at 30 kgs per minute or ½ kg per second. The weight of the can to be filled is ½ kg. You are using a bench-scale with only one single point load cell. You would need a minimum of 20.5 kgs capacity. Therefore, you select a load cell in the bench scale with a capacity of 50 kgs. with an accuracy of plus/minus 0.02%, which means the scale can’t do any better than 0.010 kgs. There is no resolution at this point since you have not selected an instrument.
Next, you select a weight processor or weight controller with a load cell excitation voltage of 5 Volts, a recommended displayed increment of 1:20,000 and a maximum is 1:100,000. The Update Rate is 110 Hz (updates per second). That means the maximum best instrument resolution is 0.003 kgs. The actual time period at which the weight readings will be updated on the display is every 9.09 microseconds.
At 30 kgs per minute or 0.50 kgs per second, every update is communicated to the PLC at 0.0045 kgs. per update.
With the finest graduation of the scale is 0.003 kgs, then the PLC sees every update.
Now let’s upgrade to a high-performance instrument with an update rate of 660 Hz. It brings the time it takes to update the PLC down to 0.0004 but it is meaningless because the PLC will get the same update 5 times. I am wasting network bandwidth and processing speed in the PLC. Once I exceed the graduation of the scale, I am wasting my money. If you would rather not waste the bandwidth of the processor in the Scale on meaningless ADC conversion and use the processing power for other tasks such as filtering or noise reduction and not to swamp the ADC converter with meaningless data. The resolution and update rate values are linked in the instrument, but accuracy is still determined by the load cells. It’s like driving a Ferrari on a freeway with a 55 MPH speed limit. You have wasted horsepower, but you can’t go any faster.


